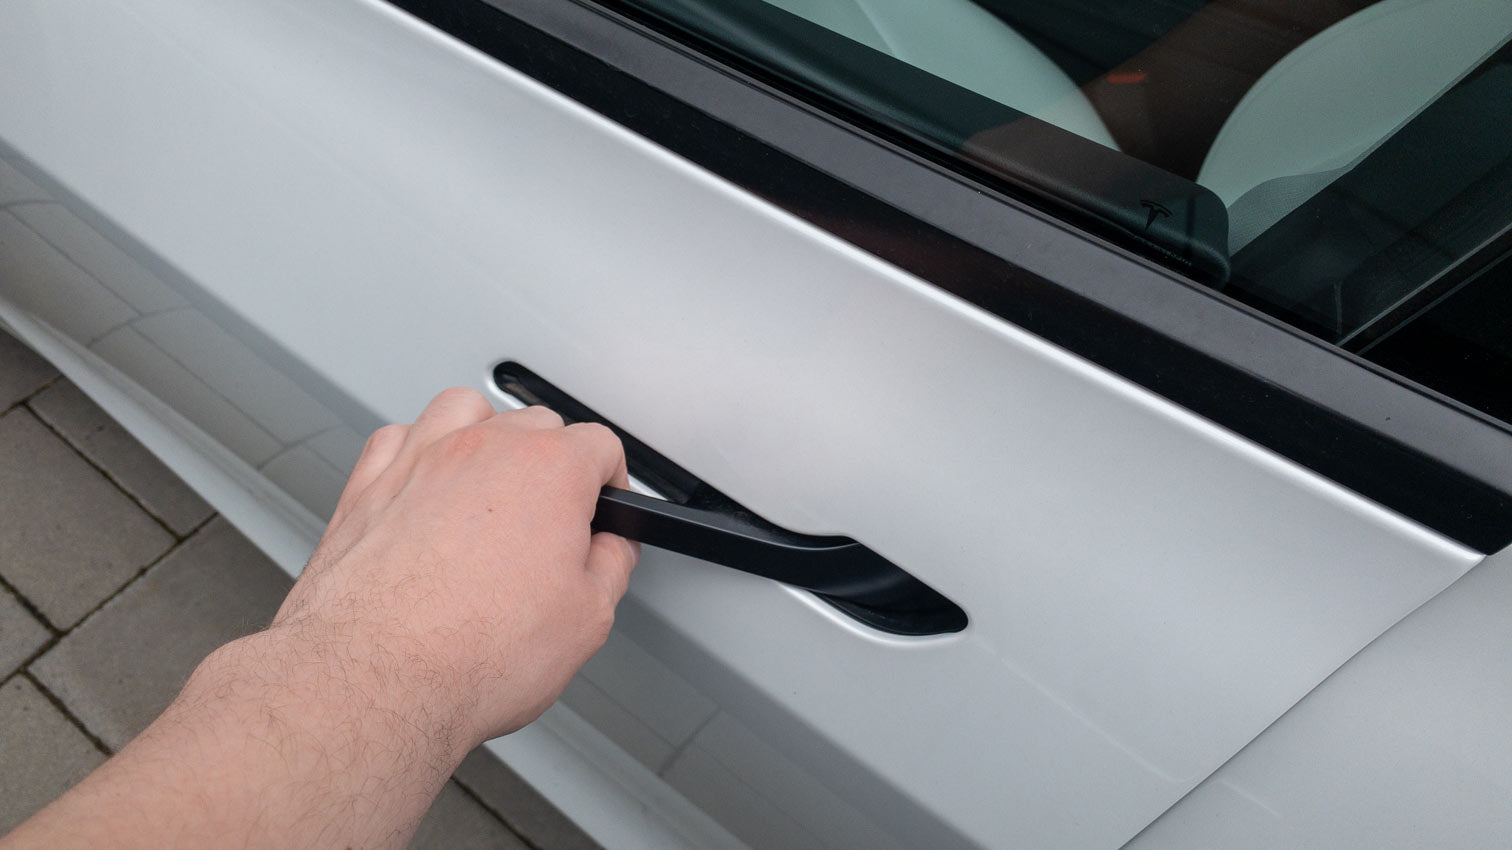

Despite ever-improving safety and assistance systems, accidents are unfortunately still part and parcel of driving. Before going to the repair service via Tesla Ranger , however, the question of fault often has to be clarified first. It's practical that even the cheapest Tesla Model 3 has a dashcam installed as standard - but how is it activated?
Formatting the Tesla dashcam USB stick
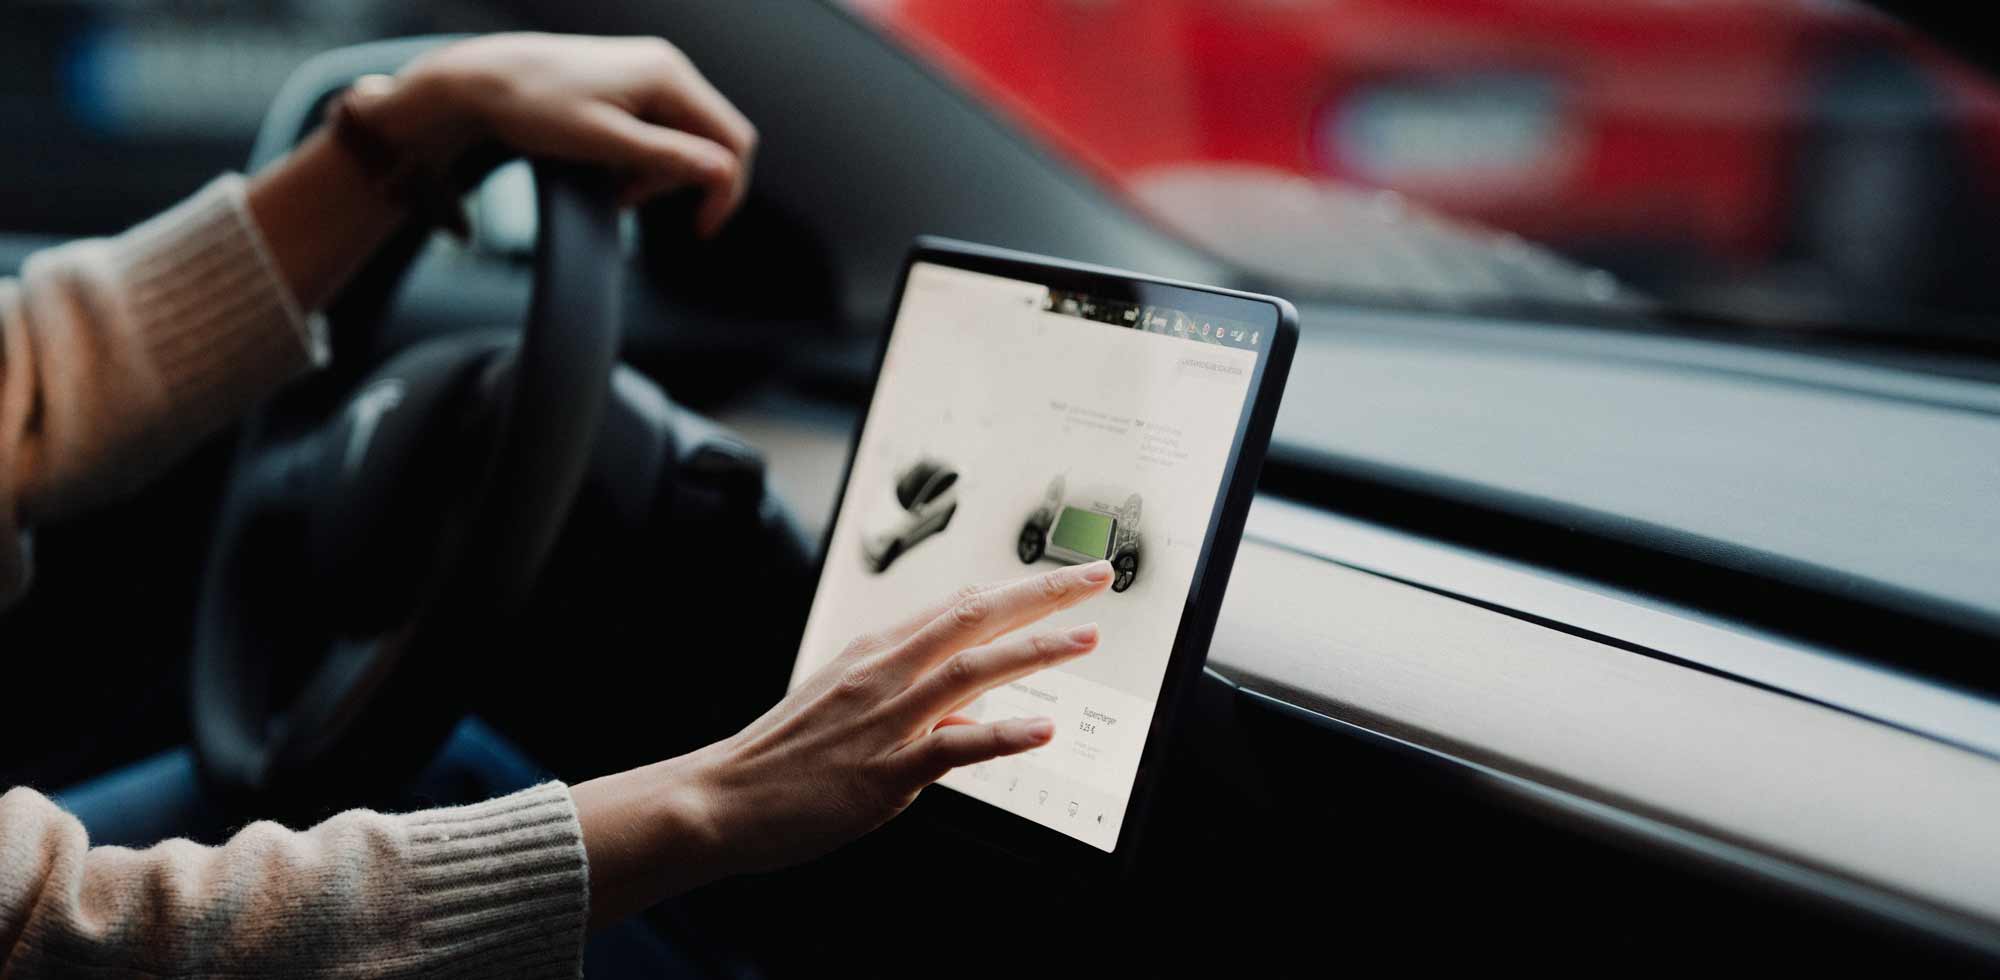
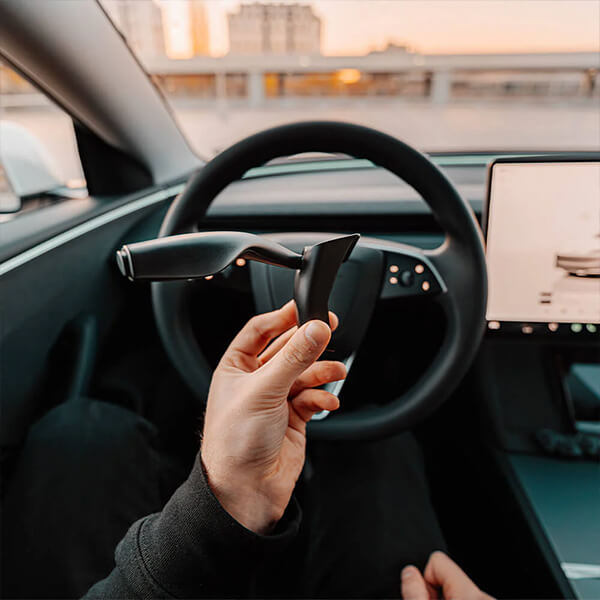
The basic requirement for saving videos is a USB stick of at least 64 GB in size and compatible with USB 2.0, which is inserted into one of the ports in the glove compartment. By selecting "Vehicle -> Security -> Format USB drive", your Tesla will configure the stick appropriately for you.
Attention: All data previously stored on it will be lost. So when looking for Tesla accessories, it is best to consider buying a new USB flash drive at the same time.
Activate Tesla dashcam
Under "Vehicle -> Security -> Dashcam" you can now activate the Tesla Dashcam. Three options are available to you:
- Auto saves a video for certain events such as airbag triggers,
- Manual when the dashcam icon is touched and
- When honking the horn when the horn is pressed.
The last 10 minutes are saved on the USB stick. You will then find the videos in the "TeslaCam" folder on your stick.
In the event of an accident, you are on the safe side and may be able to prove your innocence.
You can read about the current legal situation regarding dashcams in Germany here.